

Even when not an expert, you know the importance of having level ground for pavers. Still, leveling out ground takes time and hard work- which is only worth it if done properly. For most people hiring a professional who knows what they’re doing is the best option
Don’t let the tripping hazard in your walkway or patio be a problem any longer. Use this article to learn how you can level the surface for pavers. Your handy work will be appreciated and allow you to enjoy a worry free experience.
To summarize, here are the steps
 The best way to know what steps to take for leveling the ground is by understanding the end goal. Leveling your yard isn’t just about what the ground looks like right now, it’s an essential part of making sure when you pave, there are no cracks when rain falls.
If you’d like to pave your driveway, that means it’ll need gravel and sand underneath it; additionally, if you want the pavers to be flush with the existing surface, some digging will also be necessary.
Last but not least, although we call this process ‘leveling’, the ground should be sloped for drainage purposes. The slope also helps water flow where you want it to go instead of staying in one spot.
Removing your lawn or ground from a certain height to make it even for pavers is done by starting with the area’s outline, leveling where you want the finished grade to be, digging from that height down, filling up with gravel and sand to make the area level again and finally laying out the pavers.
Here’s what you need to do:
You will need:
-
Rope
-
Strings
-
Wooden stakes (to pound on the floor)
-
Gravel
-
Sand
-
A carpenter level
-
A nice straight lumber
-
A measuring tape
-
A plate compactor
Step 1 – Outline the area you want to add pavers to
 You can use different materials for this task, such as rope or a garden hose. Just outline your design so you can see it clearly.
Step 2 – Creating your reference
 Tie strings to the stakes you planted. String them around low enough to create a level plane. This is how we will know when the ground is level so we can start building our house.
Step 3 – Leveling the strings and adding the slope
 The strings will act as our future reference for the height of the pavement. The strings need to be level so that we can properly dig & build everything else around them after. Good luck!
Using the carpenter’s level ensure the strings are leveled all the way. Then, in order to allow for drainage, create a slope of 1 inch to every 4 feet of length.
This slope should be added only in the direction you want the water to flow to. You can do that using your measuring tape to adjust the strings.
If you’re not sure whether your slope is level or not, try using a bubble level. You should rotate the level to make sure that the bubble stays in the same place.
To make rotation easier, draw a mark on your level-gauge with a tape and use it as a guide for leveling purposes.
Step 4 – It’s time to dig
 The first thing you’ll need to do is calculate the depth of your paving project. Dividing the total number of inches by two (gravel) and (sand) will tell you how much gravel and sand you need. If it’s not enough, making sure there are 4 inches of gravel and 3 inches of sand should be enough.
In order to find out how much you will need to dig, you need to add that up to the depth of the pavers (normally 6 inches). In this example, we will need a total depth of 13 inches to accommodate everything.
Now that you have the outline for your rose garden, let’s talk about edging. In order to hold everything in place, you need to dig an area around the outlines by 13 inches as well as digging a hole for each of your plants.
Remove the weeds and reach down to the desired depth- pack soil with plate compactor
The distance between the soil and string should be about the same, but don’t worry if it’s not perfect – we’ll get to that later.
Step 5 – Add crushed gravel
Drive stakes in the ground that are at a height level that represent the limit for gravel through the area. Remember that all height references are measured from, and then down to, your baseline string.
If we want to add 4″ of crushed gravel, the stakes should be pounded at 9″ away from the strings. Spread the reference stakes about 7′ apart.
Now, spread the crushed gravel. Keep an eye on the gravel height by running a straight piece of wood through it, always making sure it remains at the same level as the stakes.
If you’ve set the stakes correctly, they should be level too.
Step 6 – Add sand
 Drive poles through the area whose height will represent the total height of sand that you plan to add then. Make sure to level the stakes so they match the reference strings and so you will have enough space to fill it with sand. The height of the pavers will be your last step, though.
That means, in our project, those stakes will have to be spaced 6 inches from the strings.
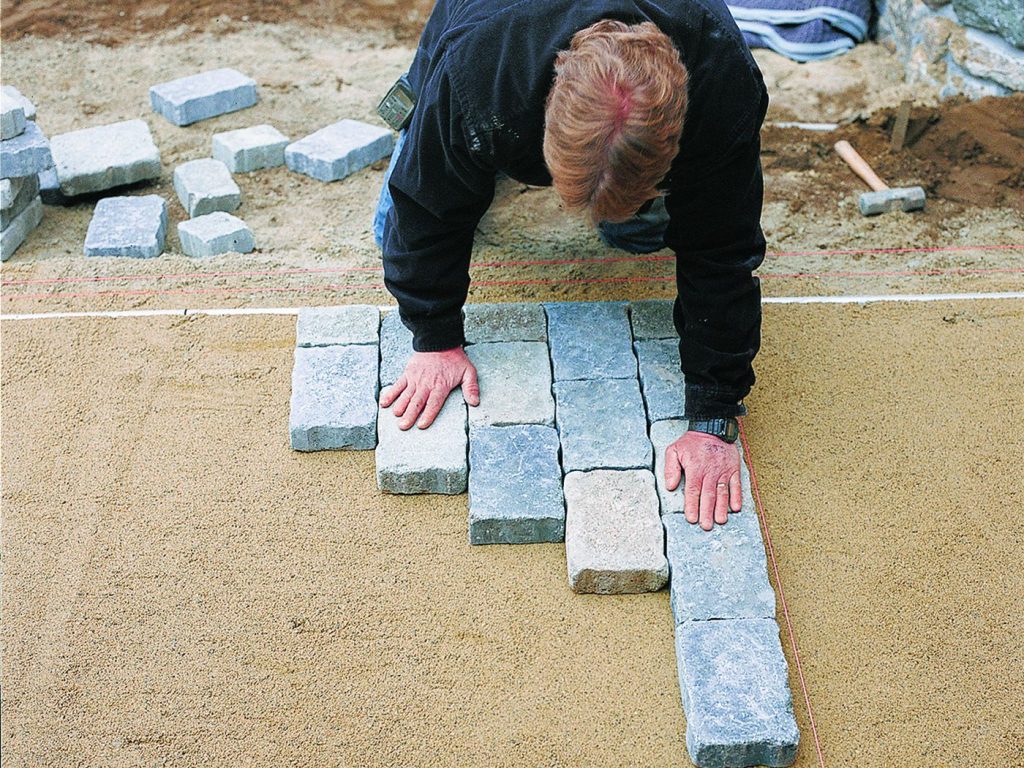
You’ll need to spread the sand out evenly, filling in any dips or holes. Place the stakes at even intervals and level them to be positioned at the same height as their corresponding pavers. Once leveled, you can slide in your pavers by fitting them over the stakes.
You’re all set!
You can go ahead and secure your paver patio as you’ve leveled the ground. Take note that as with any DIY project, many things can go wrong if you don’t do it right from the start.
