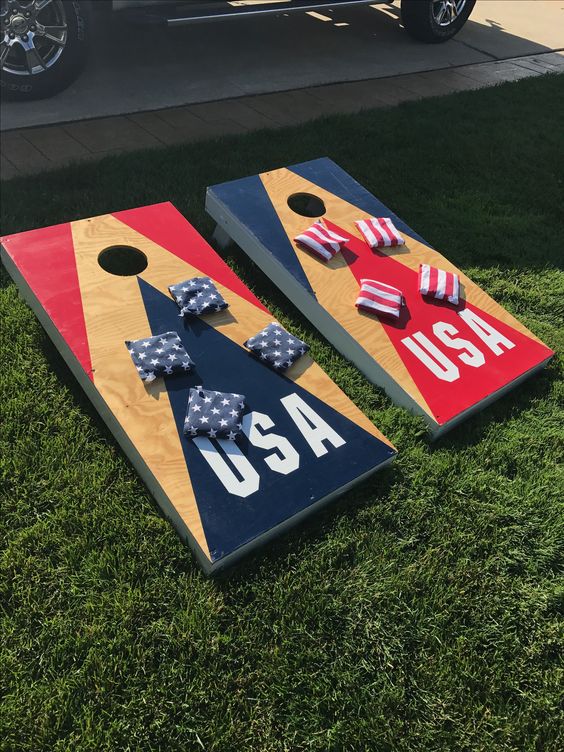
Beanbag toss games, also called corn holes, are popular backyard activities at barbecues and parties. Both children and adults enjoyed testing their skills tossing small beanbags and trying to get them into a hole in the beanbag toss game platform.
While you can purchase these games in many styles and designs, it is quite easy to build one yourself with some scrap wood, nails, paint, and a bit of fabric.
1. Bean Bag Toss Game – Materials Needed
 Scrap lumber can be used to build a bean bag toss game. You will need several pieces of two by four board and some half to three-quarter inch plywood.
An electric saw, an electric drill, a hammer, and nails are all that is needed to complete this project. Sandpaper and paint with a paintbrush will help make the game board more attractive.
The bean bags can be made easily with any type of sturdy fabric, a sewing machine and thread, and some dry beans or plastic pellets. The fabric should be in two different colors for competitive team play.
2. Bean Bag Toss Game – Building the Base
 Cut the plywood into one piece that is two feet wide and four feet long, one that is one foot wide and four feet long, and one that is one foot wide and twenty-three inches wide.
Mark a straight line diagonally from corner to corner on the one by four-foot piece and cut it into two long triangles.
3. These are the sides of the bean bag toss game board
 Assemble the pieces together using nails. The two-by-four boards can be cut into short lengths to provide sturdiness to where the plywood meets.
Nail this to the top sheet of plywood first and then nail the triangular sides and the smaller rectangular back to them.
The last step in building a bean bag toss game is to cut the hole for the bean bags to go through on the top of the large piece of plywood. Measure down approximately one foot and find the horizontal center.
Use a large drill bit or an electric saw to create a round hole an appropriate size for the bean bags to fit through. For the three-inch bean bags, a four-inch hole is sufficient.
4. Bean Bag Toss Game – Make Beanbags
 For each bean bag, you plan to make, cut two squares of fabric that are approximately four inches wide. The size does not have to be exact but should be the same for all bean bags.
Sew these together on three sides, fill each with the same exact amount of dry beans or pellets, and sew up the final side. Make the bean bags all the same so the game is fair for everyone.
You are now ready to bring out your homemade bean bag toss game at your next party or picnic and have a grand old time.

