

Some people dream of having their own garden. However, for people who live in colder climates, regions that experience winters, or apartment buildings, starting and maintaining a garden can be a bit more difficult.
And as for the winter-bravers, the fun always has to end at some point (at least until the next season).
Well, good news.
We’re here to tell you that you can own a year-round garden no matter where you live.
By incorporating an indoor garden in your home, you can continue to learn, nurture and grow with the herb and plant babies that you love.
No breaks, no death, just year-round green… That is if you do it right.
By following this guide, preparing yourself with the right tools and understanding how to plan properly, you’ll be able to enjoy your home-grown, hand-picked greens, all year.
Let’s get started.
First Area of Business: Make a Plan
 However, it will essentially make or break the final version of your indoor garden and its overall longevity. This is where you’ll decide what you want to grow. Whether it be greens, herbs, flowers or all three.
Keep in mind, if you have children, growing greens and herbs are great ways to teach them about cooking and food. Herbs are also super simple to grow. They’re compact, edible and a perfect way to start an indoor garden.
If you’ve already decided you want to grow herbs, the first thing you need to do is find a sunny spot in your home and choose which herbs you’d like to grow. Common herbs are basil, rosemary, and mint.pl
You can find herb seeds in the gardening area of most home improvement or large grocery stores. If you want more than these three herbs, check out this site for guidance on which herbs you should pair together for best growth results.
Next, pick a convenient spot in your home where you wish to start your seeding process. When the seeds are planted, light is less important than heat.
You can actually start the seeds in a location that’s not lit — it just needs to be warm.
However, as soon as the seedlings have made their way through the soil, they’ll be craving some light. At this point, you can move them to a light of your choice.
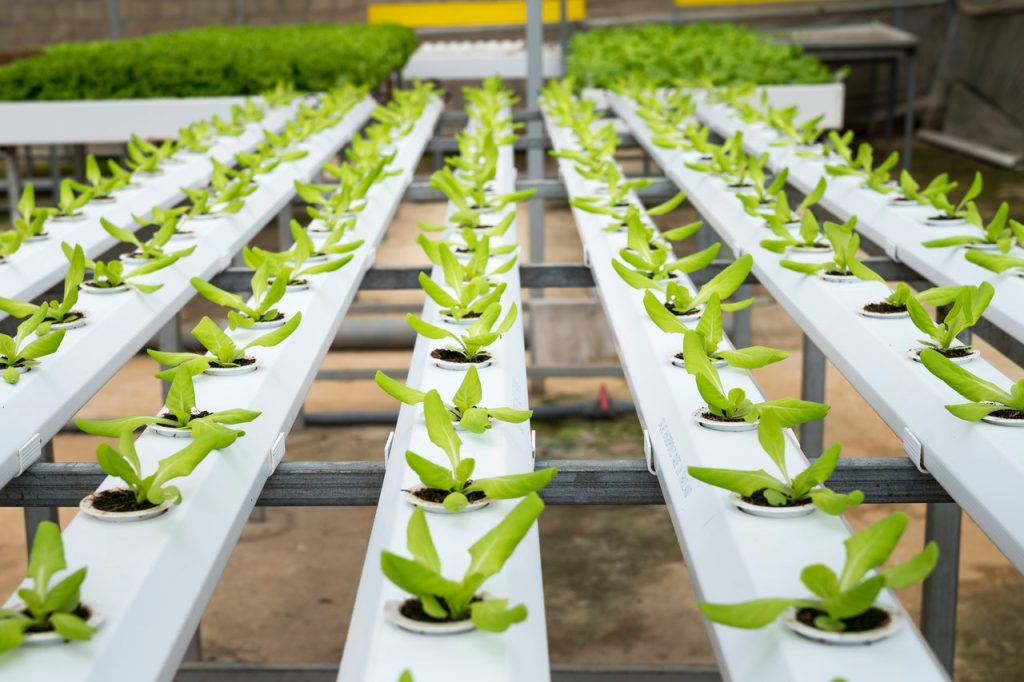
If you’ve decided growing greens is the way to go, the only thing you should be concerned about is size.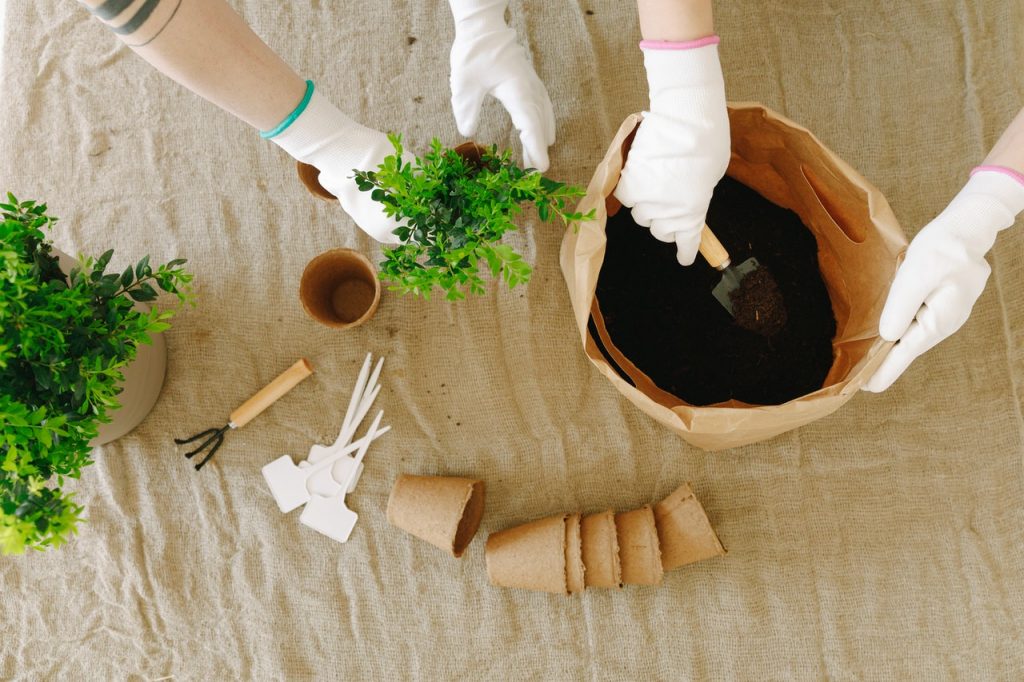
If you live in a city apartment and dream about growing your own pumpkin or cabbage patch, you may need to get used to the idea of sleeping in the bathtub.
However, it’s best to start off with something a bit smaller. This is why microgreens are a great choice. These little guys are smaller versions of popular leafy greens and offer taste along with intense nutrition.
Many different plants can be grown in this form.
Check online for spinach, lettuce, watercress or cabbage microgreens and see what comes up.
On top of that, these days, everyone loves them. Throw them on salads or sandwiches, add them as a garnish on your main dishes and you’ve just brightened your day with a bit of color and nutritional value.
Figure Out How to Grow Your Garden
 This may seem obvious, but it’s also the step that can inspire a bit of creativity.
Gather together some vintage jars or an old boot for your “pots,” then take out your old paintbrushes and give them a makeover for a real personalized touch.
Whatever you use for your plant containers, you should judge them based on the plant’s full growth size.
If you plan on keeping your growing plants on a wooden table or windowsill that can be damaged or not easily wiped down, make sure you line the bottom of the containers or the top of the surface with drip container to hold excess water.
If you don’t, chances are you could erode your furniture or floor — or just be stuck with a huge mess to clean up every day.
What You Need to Gather for Your Indoor Garden
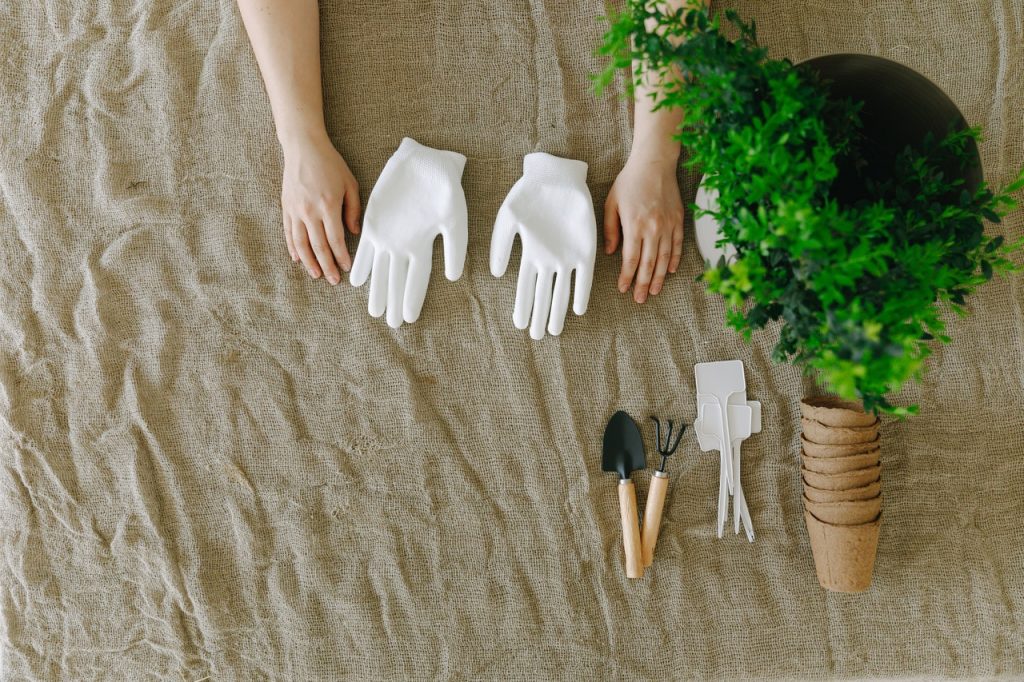
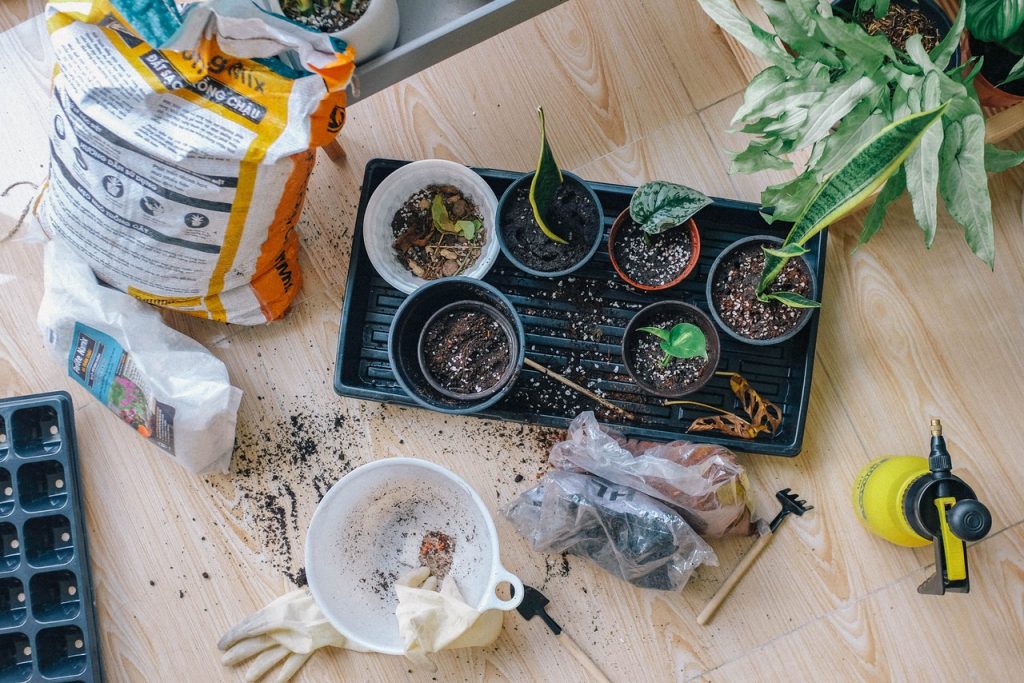
 Now that you’ve chosen your new plant babies, it’s time to gather up your supplies. Here’s what you’ll most likely need:
- A south-facing, sunny window or a grow light
- Organic potting soil
- A shallow container with draining holes (and a drain catcher for the excess)
- Seeds
- Watering can and mist bottle
Once you have your supplies gathered, you can officially start planting.
6 Steps to Starting an Indoor Garden
 It’s time to plant and grow your new, delicious roommates.
…Alright, maybe we won’t call them that.
By following these steps, along with the planning and strategy requirements we explained above, you’ll be able to give life to your greens, herbs, flowers, and all things plant-like if you want.
Keep in mind, these are fairly generic steps for planting, so it’s important to read up on the specific plants you’ve chosen to grow in case they need any special treatment or growing needs.
It’s time to get that green thumb working!
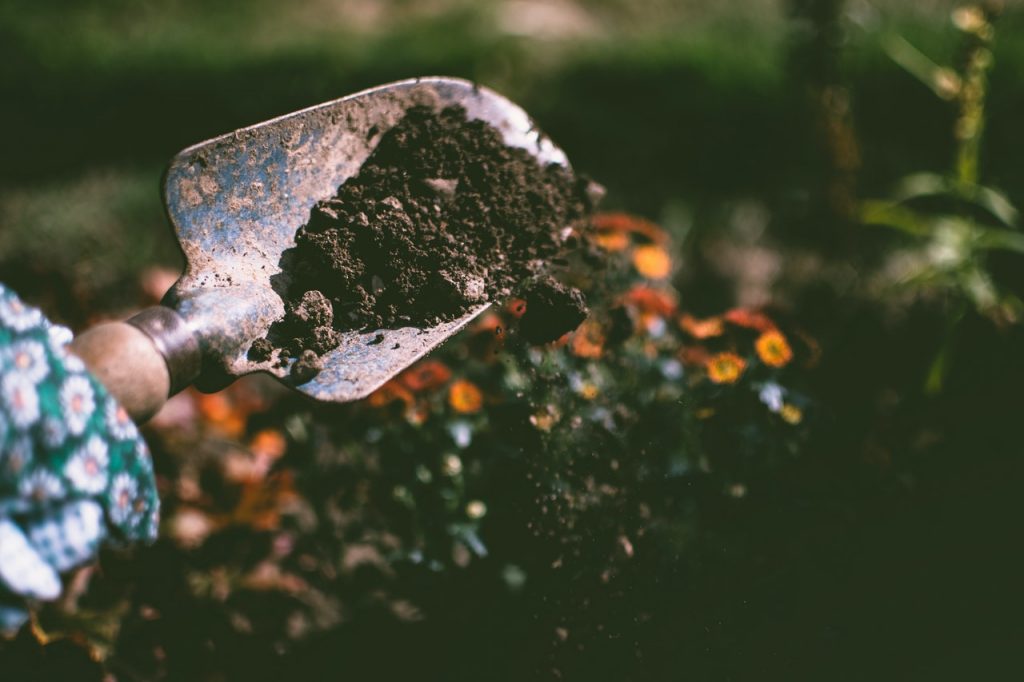
1. Prep the Soil and Plant the Seeds
 Good news: preparing your soil is a lot easier for indoor gardens than outdoor. This is because you’re working with a lot less space.
You can use a seed-starting potting mix, right out of the bag, without any additional fertilizer to start.
A lot of seed packages will let you know when you should plant them based on the last spring frost or depending on where you live.
If you’re unsure, ask a gardener (or your mom).
If you don’t follow the instructions, you may run the risk of planting your greens too soon or too early. If they become too large and you plan on transplanting them, they may become too stressed once the time comes.
Alternatively, if they’re not big enough by springtime, you may run the risk of planting them too young.
However, if you’re just planting microgreens and don’t plan on transplanting, just ignore everything we said and find some great soil!
2. Mark your Plants According to Feed Instructions
This is an important and fun part of the growing process.
Once you’ve planted your seeds, make sure to mark your plants with a little label, reminding you what plant it is and how often you need to water or feed it.
This will help create a manageable plant care system to keep track of everyone’s growth and pinpoint issues if they arise.
3. Water Wisely
 This may be the trickiest part of gardening indoors.
Since it’s almost impossible to water indoor seedlings correctly, drainage holes in your containers are a must.
For newly planted seeds, we recommend using a mist bottle. That way, you’ll moisten the soil without washing the seed away.
For the perfect soil state, you’ll want it to feel like a sponge that has been wrung out.
It should also be moist all the way through to help the roots grow downwards.
Pro Tip: cover the container with a damp newspaper to hold in moisture and warmth. However, you should remove the cover for good once your plants have broken through the soil.
4. Give them Light!
 Once your babies have broken through the soil, you can introduce them to sunlight.
You will probably have the best results if you include bulb light with natural sunlight. This provides light in a full spectrum.
Artificial lights should be placed 6 inches over the plants.
5. Mulch ‘Em Up
 Once they’ve grown a bit bigger, you can add some mulch to the mix.
This helps keep soils at a proper temperature and prevents water loss.
By getting into this healthy mulch habit, you’ll be creating the perfect environment for your little green guys to grow big and strong.
6. Harvest and Transplant When Necessary
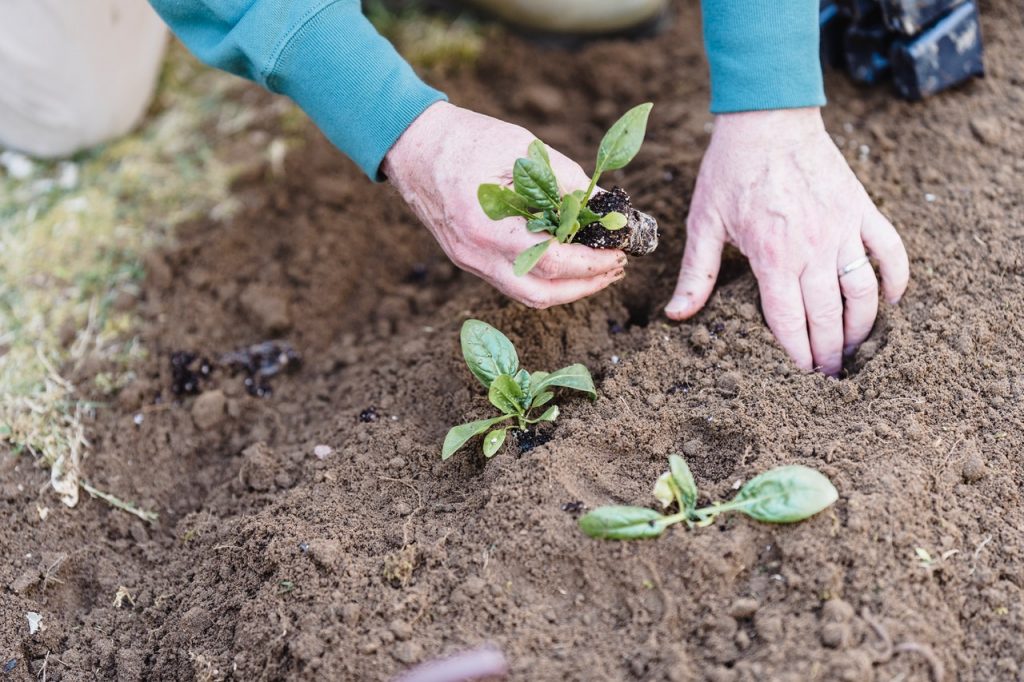 Now that your plants have produced some produce or large enough to clip, you can finally harvest!
Of course, this will come at different points for different types of plants, so you should keep an eye out for them to notice when they need to be clipped, harvested or transplanted.
You can expect your green babes to be ready to harvest in about three weeks. If you’ve chosen the microgreen route, trim your greens right above the soil line.
Rinse them off and enjoy!
Indoor Garden: Your Forever Green Thumb
Chances are, once you start seeing your fruits, veggies, and herbs, you’ll become a bit obsessed with indoor gardening.
Gardening in general, either inside or out, can be an extremely therapeutic endeavor. Growing, caring for, and touching Mother Earth and her offspring is rewarding in a number of ways, and easy enough for anyone to do, all-year-round.
As long as you have the right guide.
